
How to Check DNS Cache on Windows 10
As noted earlier, there are various ways to display DNS cache on Windows 10. This can be useful if you want to diagnose DNS issues, for example, where an invalid or out of date DNS record might be cached.
Via Command Prompt
To display the contents of the DNS cache, you need to execute the following command in an elevated Command Prompt:
- Press the Win + S shortcut keys and type in “cmd” (without quotes).
- Click on Run as administrator on the right pane.

- On the Command Prompt window, type the following command and press Enter:
ipconfig /displaydns
Upon execution of the command, the following results will be displayed:
- Record Name – This is the name you query the DNS for, and the records, such as addresses that belong to that name.
- Record Type – This refers to the type of entry, displayed as a number (although they are commonly referred to by their names). Each DNS protocol has a number.
- Time to Live (TTL) – This is a value that describes how long a cache entry is valid, displayed in seconds.
- Data Length – This describes the length in bytes. For instance, the IPv4 address is four bytes, and the IPv6 address is 16 bytes.
- Section – This is the answer to the query.
- CNAME Record – This is the canonical name record.
You can export the results of the DNS cache using this command:
ipconfig /displaydns > dnscachecontents.txt
This will save the output in the text document, dnscachecontents.txt.
Via PowerShell
You can view the DNS cache using Windows PowerShell. And like in Command Prompt, you can also export or save the database. Here’s the procedure:
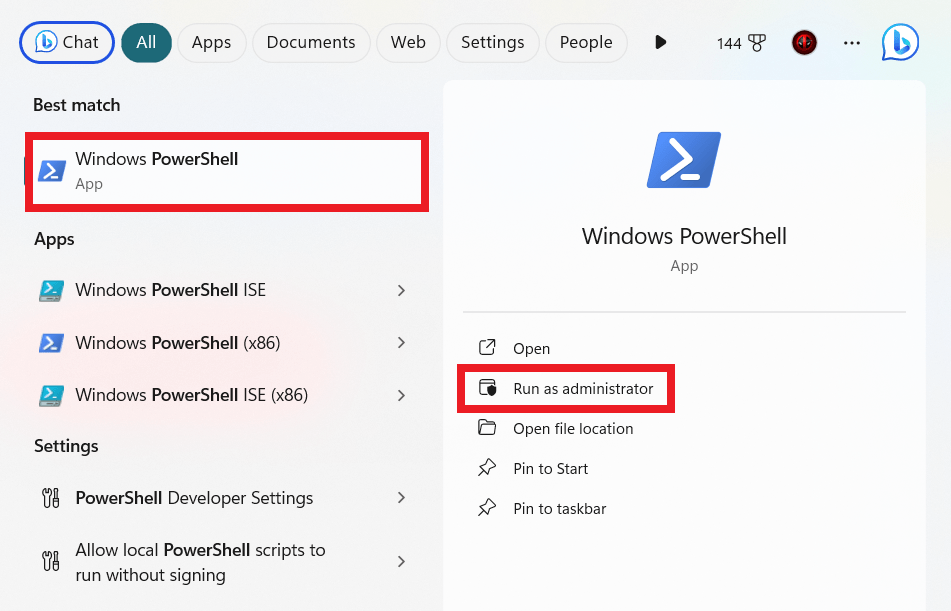
- Press the Win + X keyboard shortcut, and select Windows PowerShell Admin. Alternatively, if you can’t find that option, press the Win + S shortcut keys, type in “PowerShell” (no quotes) and select Run as Administrator on the right pane.
- Next, input the command “Get-DnsClientCache” (no quotes), and press Enter.
- Use the Get-Help cmdlet to get more information:
Help Get-DnsClientCache –full
How to Clear DNS Cache
To clear the DNS cache, for whatever reason, you can use a command line or Windows PowerShell.
Clearing DNS Cache Using Command Prompt
- Press the Windows Key + S, and type “CMD” (without quotes).
- Choose the “Run as administrator” option in the right pane.
- Type the following command in the prompt and hit Enter:
ipconfig/flushdns
That’s it! You should get a notification indicating the cache has been successfully flushed.
If the issue is on the server instead of the local machine, you can still use Command Prompt to clear the DNS cache, but with a different command. In that case, the command would be:
dnscmd /clearcache
Clearing DNS Cache Using Windows PowerShell
You can also flush the DNS cache using Windows PowerShell. Depending on the type of cache you want to clear, you have a few options to implement:
- To clear the local DNS server cache, use the command line:
Clear-DnsServerCache
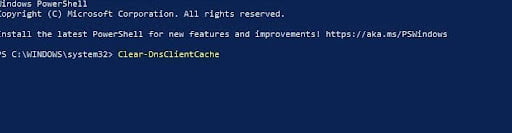
- To clear the client cache, use this command:
Clear-DnsClientCache
How to Disable DNS Cache in Windows 10
If for any reason you wish to disable DNS cache on your Windows 10 PC, you can use the “Service Controller” tool to stop the service:
- Press the Win + R keys, type in “services.msc” (no quotes) and press Enter or click OK.

- Locate the DNS Client service (or Dnscache on some computers) and double-click it to open its Properties.
- Change the Startup Type to Disabled.
- To re-enable the service, repeat the steps above and change the Startup Type to Automatic.
Alternatively, you can deactivate the DNS Client using Windows System Configuration:
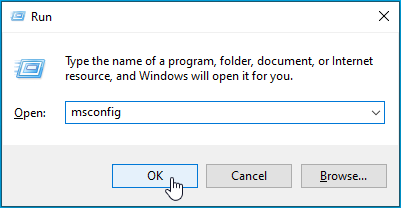
- Press the Win + R keys, type in “msconfig” (no quotes)in the Run dialog box, and hit Enter or click OK.
- Move to the Services tab and find DNS Client.
- Uncheck the box next to the service and click Apply > OK.
- To re-enable the service, repeat the steps above and tick the checkbox again.
Keep in mind that disabling this service will affect the overall performance of your computer and the network traffic for DNS queries will increase, which means websites will load much slower than normal.
How to View DNS cache on Windows 11?
Windows 11 comes with several substantial upgrades: performance optimization, bug fixes, new placements for the Taskbar and Start Menu — and more. However, when it comes to basic functionality, Windows 11 works in pretty much the same way as Windows 10.
If you are trying to view DNS cache on Windows 11, you can use the same methods we’ve mentioned above for Windows 10. Namely, you can view cache by running elevated Command Prompt or via Windows Powershell — simply go through the steps for both methods described above.
If you are looking to clear DNS cache on Windows 11, you can also follow the same steps as listed above for Windows 10. You can clear the cache by running a command in Command Prompt.

Or, you can do the same via Windows PowerShell.
Follow the steps above for Clearing DNS Cache on Windows 10. You can also follow the same steps for re-enabling the service as well.
Extra Tip: Always Protect Your Privacy
You will especially find the features under the “Browser Protect” tab quite useful.
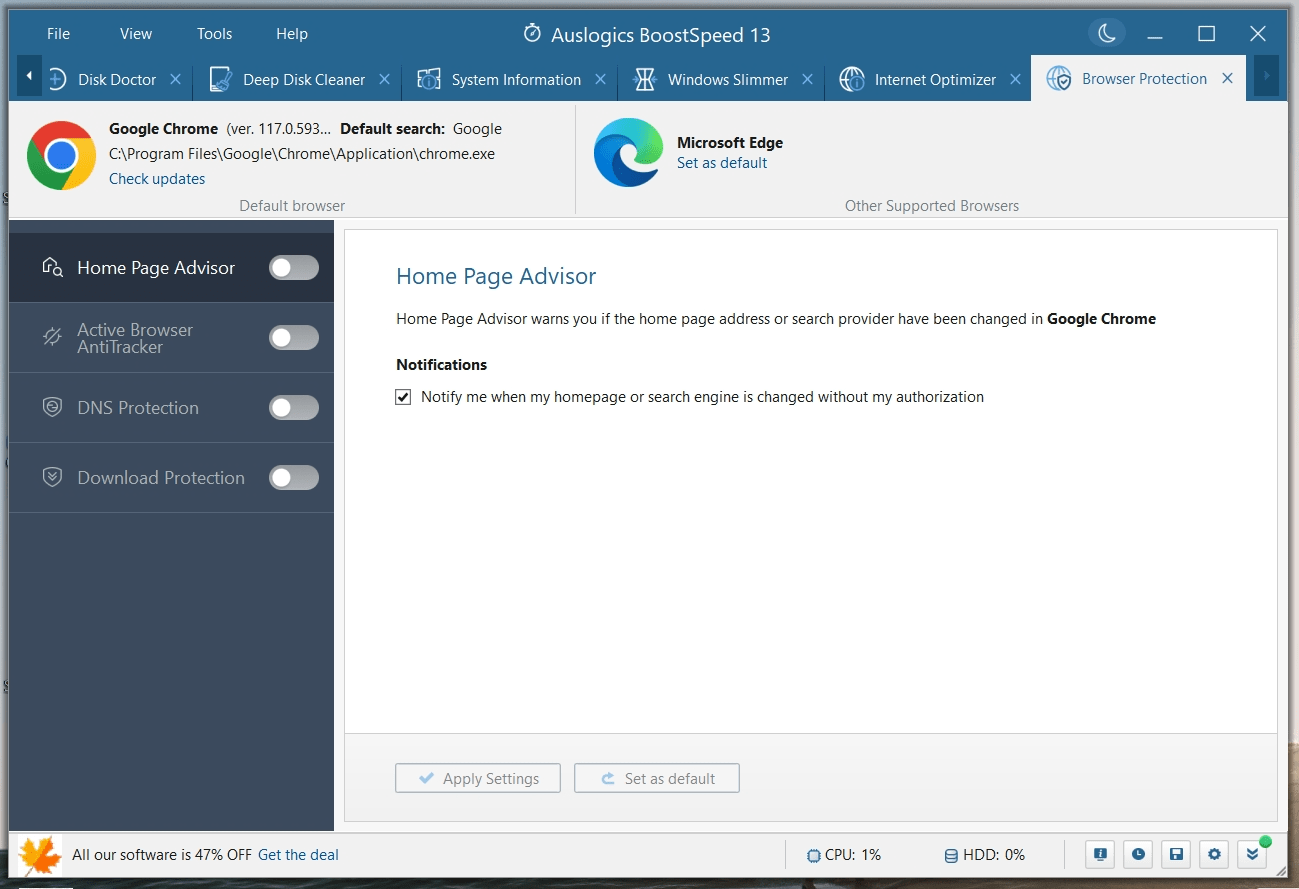
Apart from clearing traces of your activities in your web browsers, system files, and applications, there is also an option to protect your DNS from unauthorized changes. This way, you won’t be worried about DNS spoofing, where attackers alter your DNS records to redirect traffic to fraudulent websites.
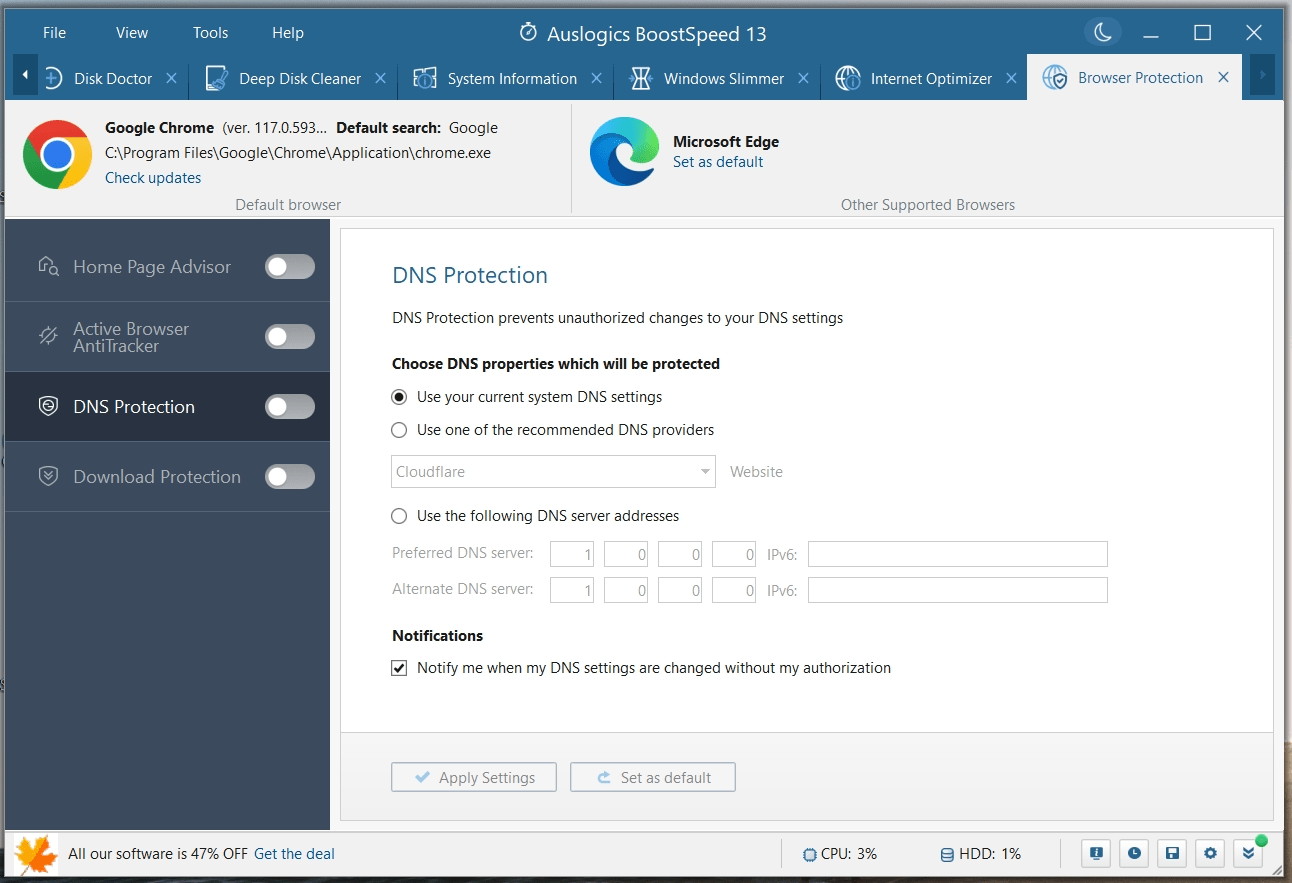
If you enable Active Browser AntiTracker, your browsing data will be cleared after every browsing session, further safeguarding your privacy.
![]()
Conclusion
Managing your DNS cache on Windows 10/11 is a straightforward process that can improve your internet experience. Viewing the cache allows you to see which domain names have been resolved recently, while clearing it can help resolve connectivity issues, ensure privacy, and keep your system up-to-date. By following the simple steps outlined in this guide, you can easily view and clear your DNS cache, ensuring a smoother and more secure online experience.
FAQ
How to Check DNS Settings in Windows 10?
To check your DNS settings in Windows 10, follow these steps:
- Right-click on the Start button and select “Network Connections” or “Network & Internet Settings.”
- Click on “Change adapter options.”
- Right-click on your active network connection and choose “Properties.”
- Scroll down and find “Internet Protocol Version 4 (TCP/IPv4)” or “Internet Protocol Version 6 (TCP/IPv6)” depending on your network.
- Click “Properties” to view and edit your DNS settings.
Where Are the DNS Address Resolutions Stored?
DNS address resolutions are stored in the DNS cache of your operating system. In Windows, you can view and manage this cache using the Command Prompt or PowerShell with commands like “ipconfig /displaydns” or “Clear-DnsClientCache.”
Đăng nhận xét